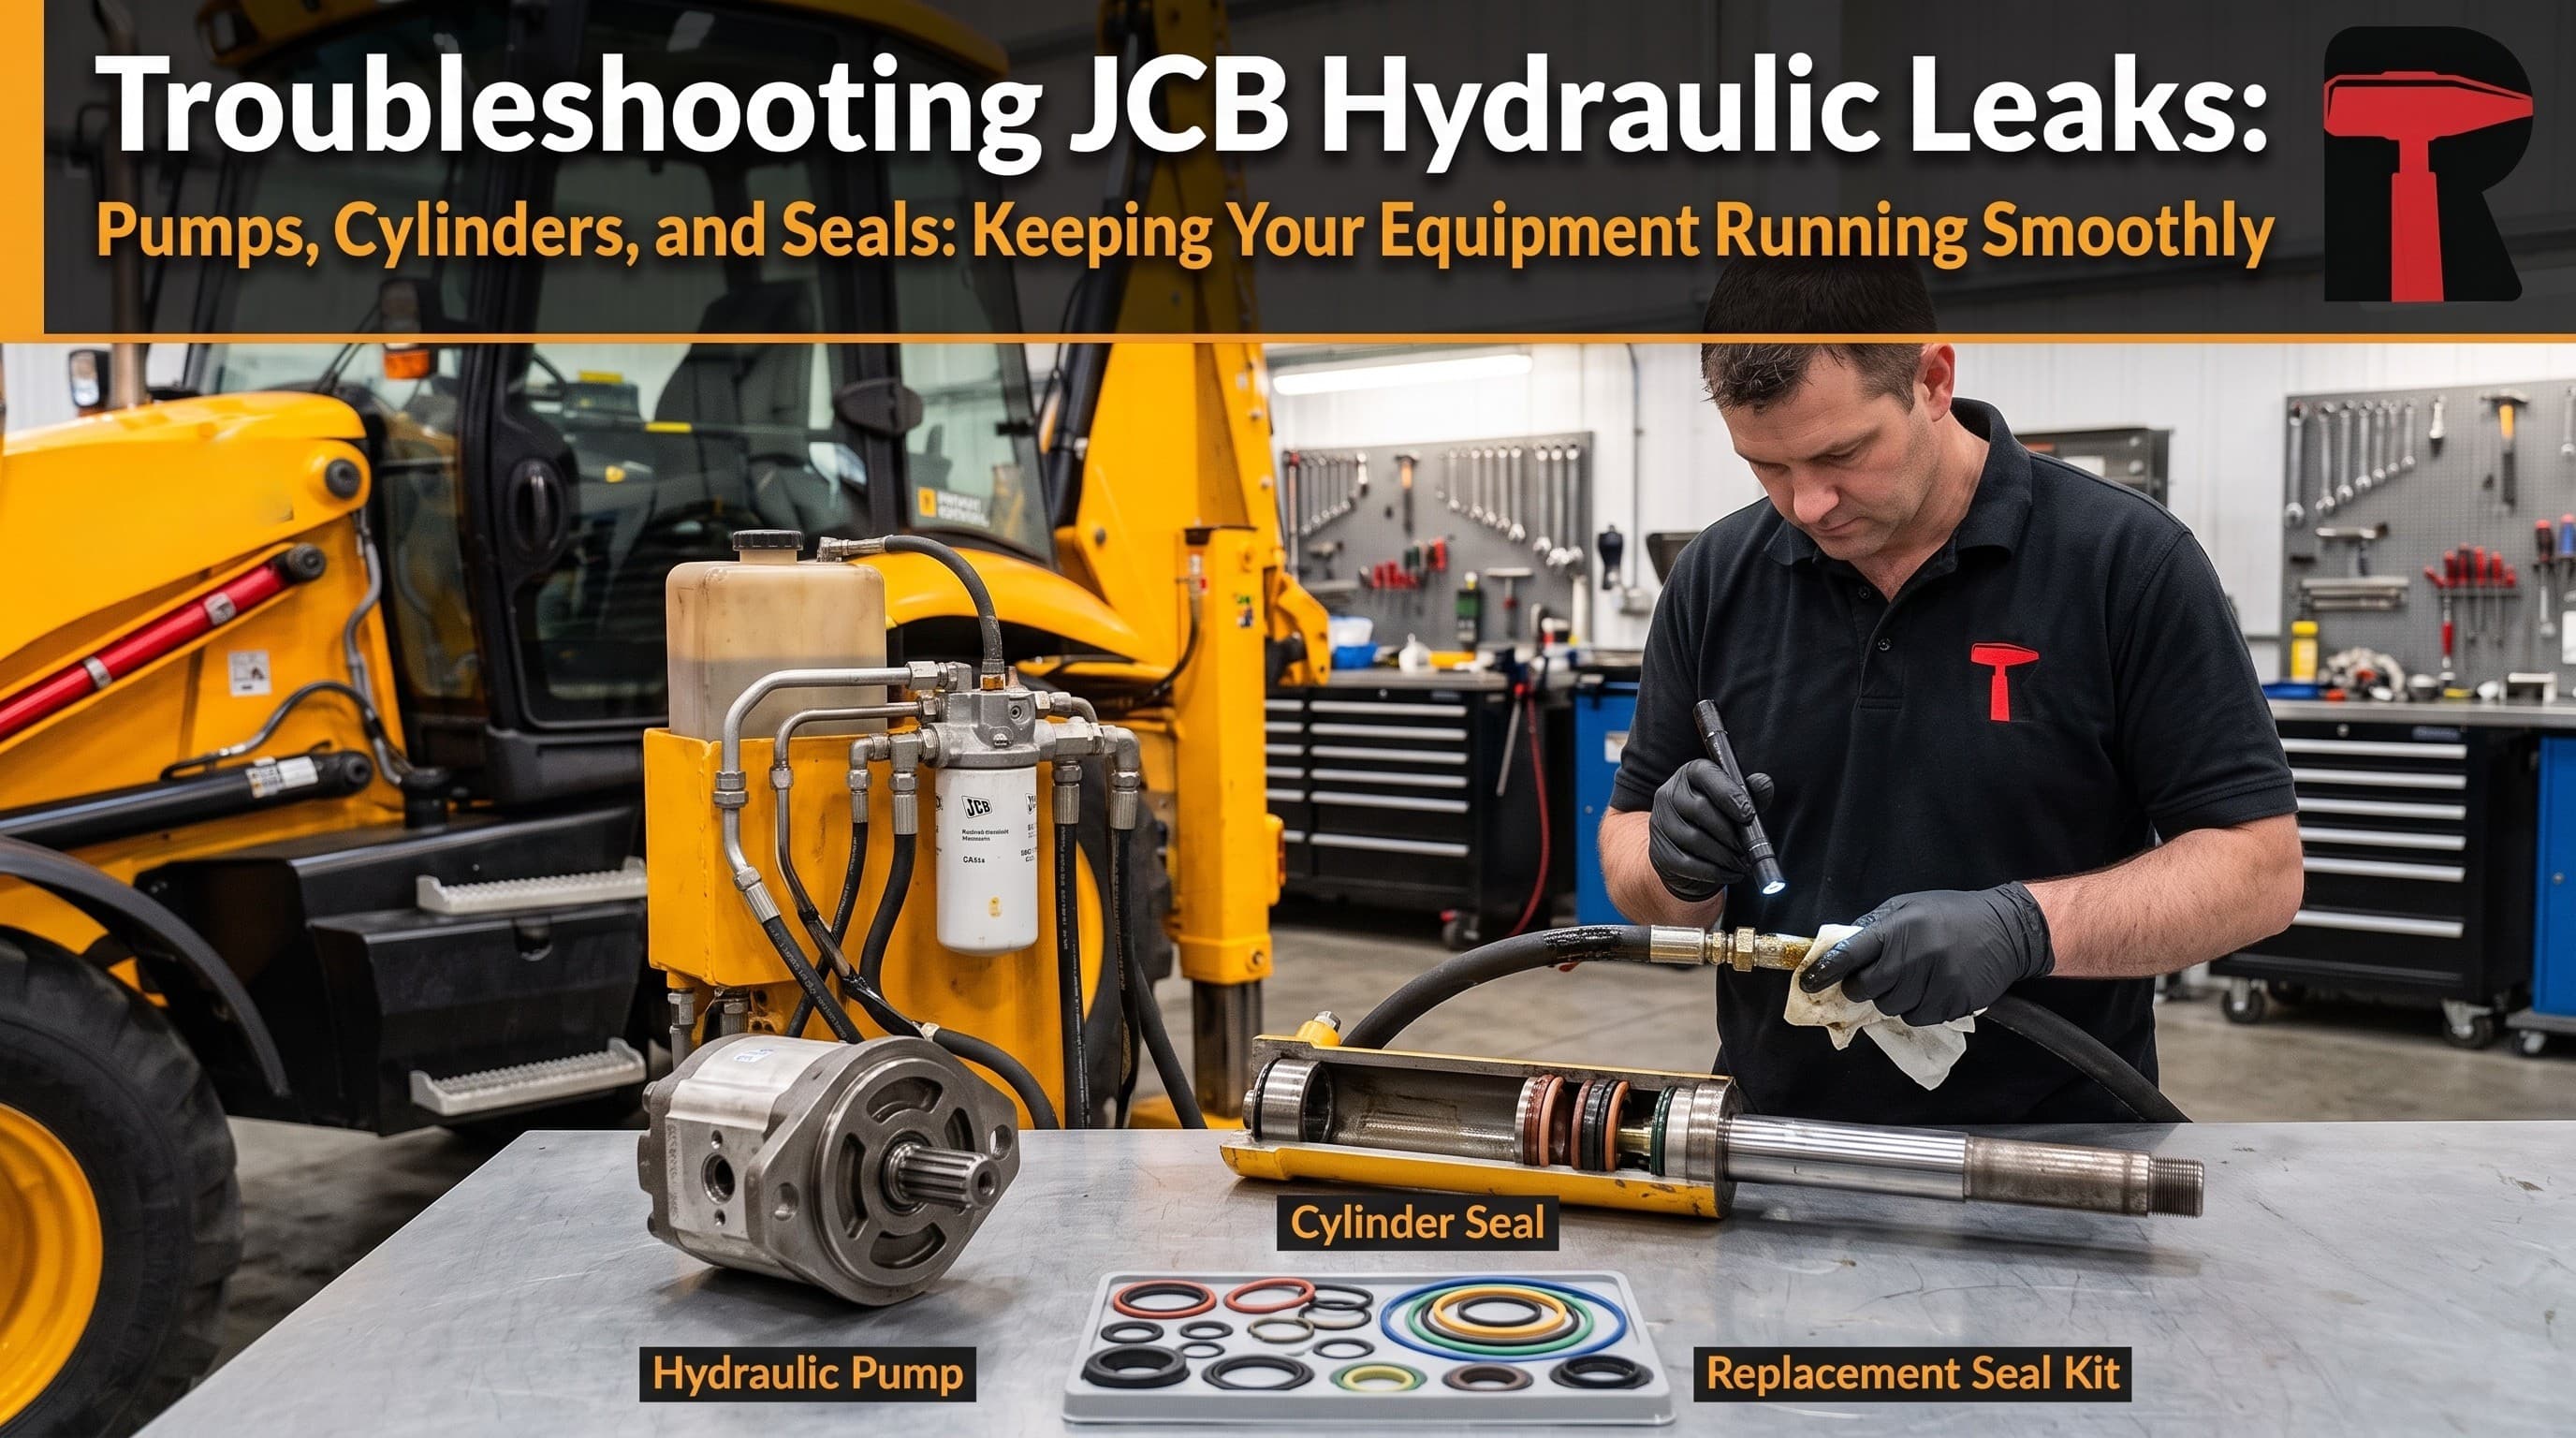
A hydraulic leak is one of the more visible problems a machine can develop, but tracing it to its actual source takes a methodical approach rather than guesswork.
Step 1: Identify where fluid is actually appearing. Clean the suspected area thoroughly, run the machine through a full range of motion, and observe where fluid reappears. Fluid can travel along components before dripping, so the visible drip point isn't always the source.
Step 2: Check the easy points first. Hose fittings and connection points are the most common leak source and the easiest to fix — often just a matter of tightening or replacing a worn crush washer or O-ring.
Step 3: Inspect cylinder rod seals. A wet, oily film along an extended cylinder rod points to a worn rod seal. This is a common and relatively inexpensive fix compared to replacing the whole cylinder.
Step 4: Check pump shaft seals. Leaks at the pump itself, particularly around the input shaft, often indicate a worn shaft seal — catch this early, as continued operation with a pump seal leak can lead to air ingestion and pump damage.
Step 5: Consider valve body leaks. Leaks from a control valve body are less common but more serious, often requiring valve rebuild or replacement rather than a simple seal swap.
A note on hose leaks specifically. A hose that's leaking at the fitting (rather than along its length) is often a sign the hose was over-torqued or under-torqued during installation, not necessarily a defective hose. A weeping leak along the hose length itself, however, does mean the hose needs replacement.
Why fixing leaks quickly matters beyond the mess. Beyond fluid loss and cost, a leak introduces the risk of air entering the hydraulic system, which causes spongy or erratic cylinder movement and accelerates wear on the pump and valves. A small leak left unaddressed rarely stays small for long.
Need the right OEM-compatible line? Cross-check numbers on our OEM database, then request a quote with quantities and machine serial.